If you’re thinking of getting a new shed for your garden, watch this video where we explain how to prepare the area and lay a concrete base.
STEP 1
Always use Irish Cement safely when mixing concrete. Protect your eyes, skin and lungs. Safety information is printed on the bags and can be found on the Irish Cement website.
STEP 2
Mark out the area and clear any vegetation and topsoil slightly wider than the base you want. Prepare a firm level base of compacted gravel or clay on which to place your concrete.
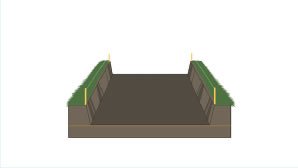
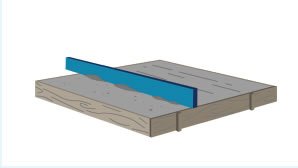
STEP 3
Place side-forms which will hold the concrete in place while it sets. Use clean smooth timber planks secured with pegs along the outside. Drive the pegs below the level of the planks keeping the top edges of the side-forms level.
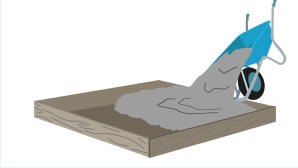
STEP 4
Mix your concrete and place into the form-work. See our concrete calculator and other videos on how to mix concrete.
STEP 5
Tamping the top of the concrete will help to remove trapped air bubbles. You can also tap the side forms.
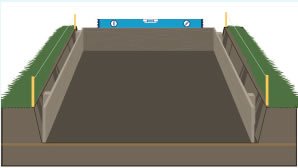
STEP 6
To ensure the surface is level, you will need to screed it. Take a straight piece of timber that spans the width of the concrete and level the surface using a sawing motion.
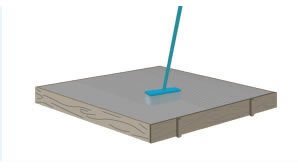
STEP 7
You can float the concrete surface to get a smooth finish. If using a hand float, use wide overlapping arcs. Two or three passes should be enough to create a smooth surface.
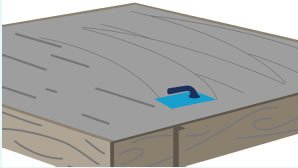
STEP 8
A textured finish can be achieved by lightly drawing the bristles of a stiff brush across the surface when the concrete has begun to set but before it has hardened completely.
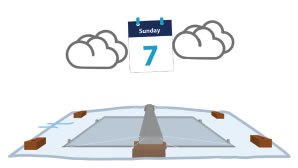
STEP 9
Remember, protect your work from rain or during hot weather to ensure the concrete sets correctly. Properly ‘curing’ the concrete like this will ensure better quality longer-lasting concrete. Depending on the conditions curing can take up to 7 days.